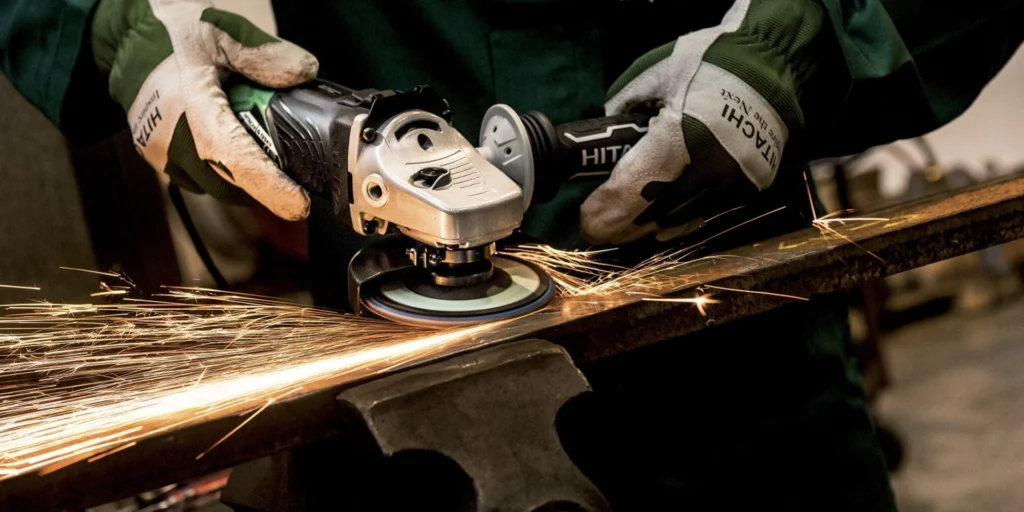
Precision material cutting is a fundamental skill in various crafting and DIY projects, and one tool that often goes underestimated for this purpose is sandpaper. In this article, we will explore the art of using sandpaper for precise material cutting, delving into techniques that can elevate your cutting capabilities and ensure clean, accurate results.
1. Choosing the Right Sandpaper Grit:
The first step in mastering sandpaper cutting is selecting the appropriate grit. Different grits serve various purposes, and for cutting, a medium to coarse grit is generally recommended. This provides the necessary abrasiveness to cut through materials while maintaining control over the process.
2. Securing Your Material:
Before you begin cutting, it’s crucial to secure the material you’re working on. Use clamps or other stabilizing tools to prevent unnecessary movement, ensuring a steady and controlled cutting process. This is especially important for achieving precision, particularly when dealing with delicate or intricate cuts.
3. Creating a Cutting Guide:
For straight cuts, consider using a straight edge or ruler as a cutting guide. This helps maintain a consistent cutting line and ensures that your cuts are straight and accurate. Measure and mark the cutting line on the material, then align the straight edge along the marked line before starting the cutting process.
4. Employing a Back-and-Forth Motion:
When using sandpaper for cutting, employ a back-and-forth motion rather than a circular one. This helps to maintain better control and allows for a more even distribution of force across the sandpaper. The back-and-forth motion is particularly effective for cutting through materials like wood, cardboard, and foam.
5. Curved Cuts with Sandpaper:
For curved cuts, fold the sandpaper to match the desired curve. This flexibility allows for greater maneuverability and precision when navigating intricate patterns or curves. Take your time and make gradual, controlled movements to achieve the desired shape without compromising accuracy.
6. Finishing Touches with Fine Grits:
After the initial cut, refine the edges using a finer grit of sandpaper. This step smoothens the cut edges and enhances the overall finish of your project. Transitioning to a finer grit also reduces the risk of splinters or rough edges, particularly important when working with materials like wood.
7. Safety Precautions:
Always prioritize safety when using sandpaper for cutting. Wear appropriate personal protective equipment, including safety glasses and gloves, to shield yourself from potential hazards. Additionally, work in a well-ventilated area to minimize the inhalation of dust particles generated during the cutting process.
Mastering the art of sandpaper cutting opens up a world of possibilities for precise material shaping in your projects. By selecting the right grit, securing your material, and employing proper techniques, you can achieve accurate cuts and elevate the quality of your craftsmanship. Whether you’re a seasoned DIY enthusiast or a novice crafter, incorporating sandpaper cutting into your skill set will undoubtedly enhance the precision and finesse of your creations.

